In this article
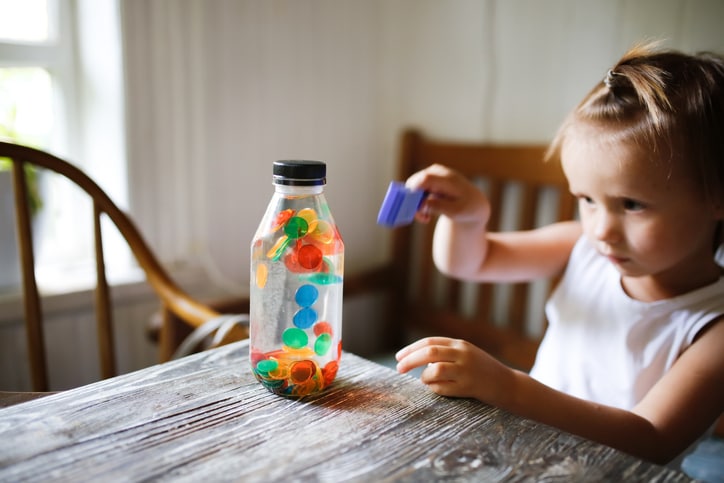
TikTok and Instagram may have made sensory bottles popular, but experts have long-known about their benefits. “Sensory bottles, which can be filled with items like glitter, beads or small objects that when added to water float around whimsically, create a soothing visual or even auditory experience for kids,” explains Dr. Joshua D. Feder, executive medical director of Positive Development, which provides in-home therapy for neurodivergent children across the country. “These simplistic toys can help children calm down, explore or engage in play. Kids can roll, shake or even use the bottle for games like hide-and-seek.”
In addition to their benefits, sensory bottles are great because they cost next to nothing to make and they can be completely tailored to your child’s preferences. Also, making them is part of the fun!
Wondering how to make a sensory bottle? Read on for instructions, inspiration and expert input on why these mesmerizing toys can be so therapeutic.
What is a sensory bottle?
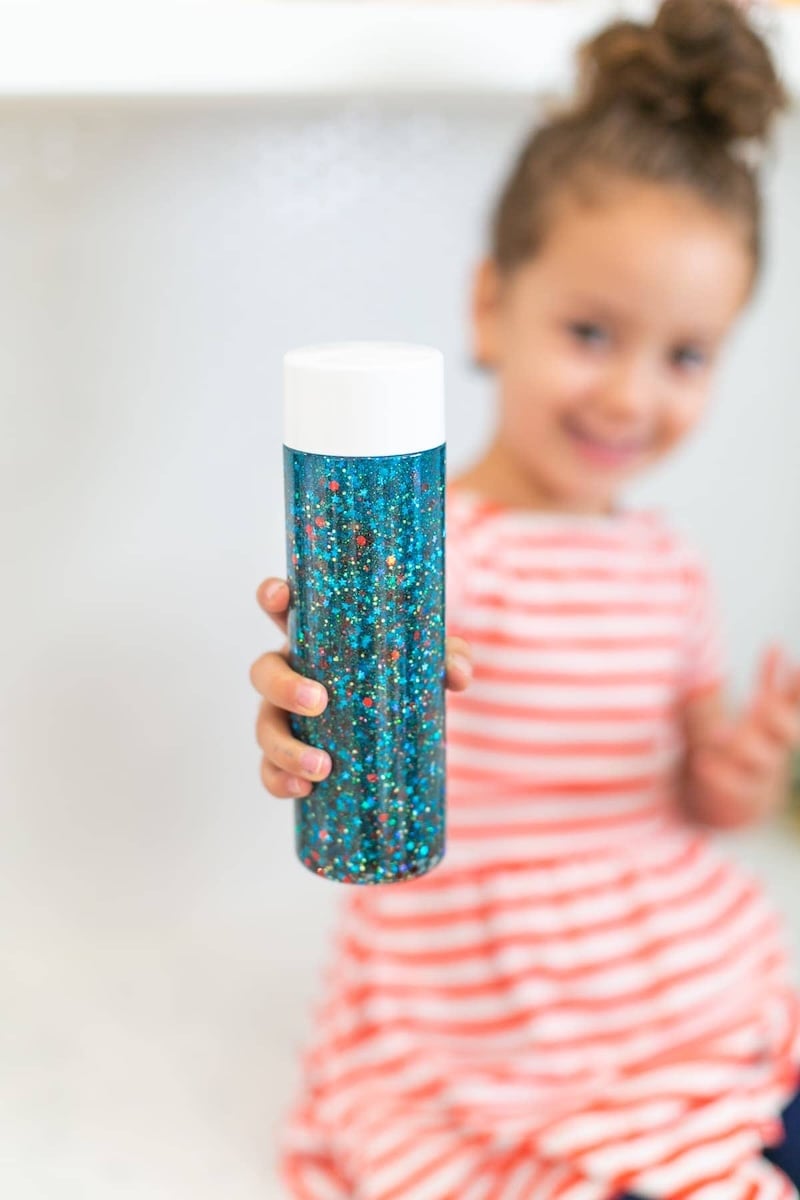
Sensory bottles, also known as calm down jars or glitter globes, are captivating to kids, explains Melissa Schwartz, a coach for highly sensitive families at Leading Edge Parenting. “Sensory bottles help kids slow down,” she says. “By taking that pause, the brain can shift course, out of the fight-flight-freeze in the amygdala, back into the executive functioning frontal cortex, which is where rational thought, emotional regulation and critical thinking happen.” Put another way: It grounds them and brings them to the present moment.
“Watching glitter slowly fall or objects and waves move around inside a bottle can be incredibly calming and can help with self-regulation when kids feel overwhelmed,” notes Feder.
How to make sensory bottles
Here are a few recipes for sensory bottles, DIY style. You can copy the instructions exactly or mix and match colors and items to make a unique one of your child’s own.
1. Easy glitter sensory bottle
These calm down glitter bottles from MDR Bros. are super simple to make. Kids can choose their favorite color for the glitter to add a personal touch.
What you need:
- Glitter.
- (Non-paper) confetti.
- Glue.
- Empty water bottle.
- Water.
How to make:
- Fill a bottle half-way with water.
- Add glue to fill about 1/3 of the bottle.
- Add glitter and confetti.
- Put the top on and mix well.
- Add more glue and water to fill to the brim.
2. Taste-safe sensory bottles
You’d think non-edible objects wouldn’t go in kids’ mouths, but historically-speaking, that’s not always the case. To be frank, with kids, you never know. To combat this “just in case” scenario, Jordan from Sensory Class has a recipe for a taste-safe sensory bottle that’s made with only two ingredients: Water and edible glitter.
3. Holiday-specific bottles
Chelsea from Lovely Indeed created these cool Fourth of July calm down jars, but really, you can make them for any holiday — Halloween, Christmas, Hanukkah. Get creative!
“Encourage your child to experiment with different materials to create their perfect sensory bottle. Also, make sure you secure bottles tight with a hot glue gun!”
— Graziana Zito, occupational therapist and owner, Eighth Sense Wellness
4. Rainbow sky sensory bottle
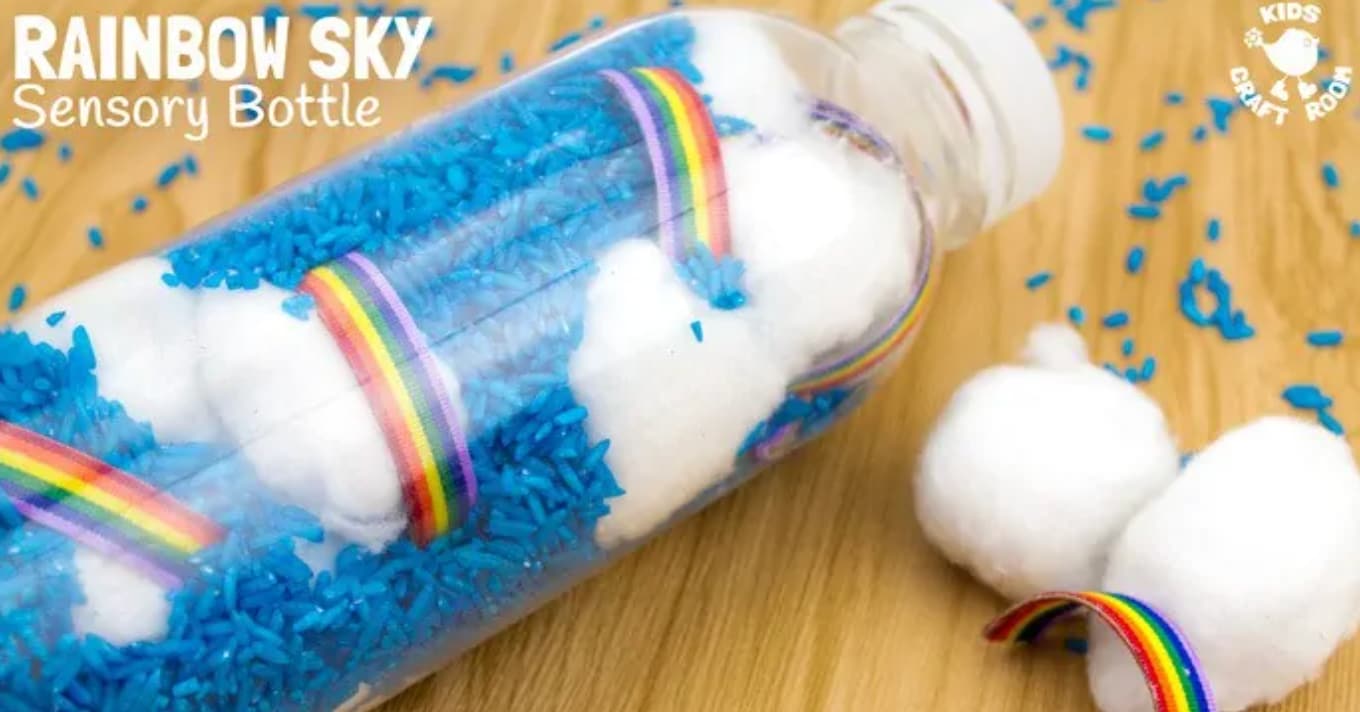
Not all sensory bottles need to be liquid, FYI. This sweet rainbow sky sensory bottle from Kids Craft Room uses only dry ingredients, but the outcome of helping kids land into their physical body and calming the nervous system is just the same. It’s it’s adorable to boot.
5. Color monster emotions bottles
These emotions sensory bottles from A House of Play are a brilliant way for kids to both calm down and name/connect with what they’re feeling. Each bottle is a color that corresponds with an emotion — i.e. blue for sad — and has a corresponding sticker on the top that shows a monster expressing that emotion.
How to make each one:
- Angry: 2/3 water, 1/3 baby oil, glitter and red food coloring.
- Happy: 3/4 water, 1/4 clear soap, yellow mica powder, glitter and yellow elastic bands.
- Calm: 3/4 water, 1/4 Elmer’s clear glue, green mica powder, green glitter and a few drops of green food coloring.
- Sad: 1/4 rubbing alcohol, 3/4 Elmer’s clear glue, blue food dye, blue glitter and blue marbles.
- In Love: 3/4 water, 1/4 Elmer’s clear glue, a few drops of red food dye, glitter, “love” confetti.
6. Seashell sensory bottle
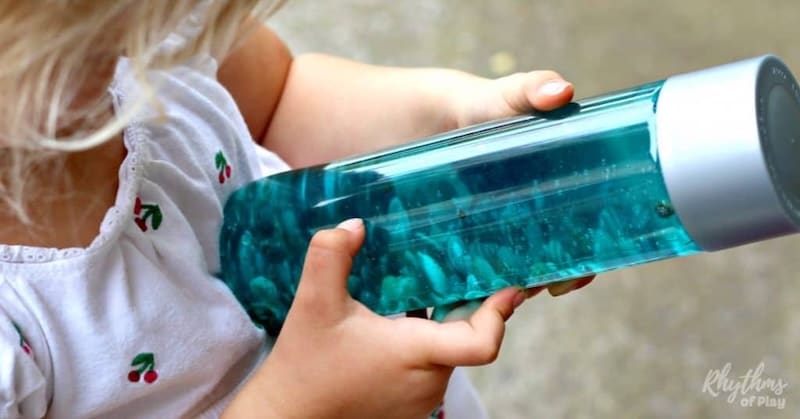
Why not add a little nature to your sensory bottle? Rhythms of Play has a number of calm down jar ideas, but her seashell sensory bottle could be the cutest. It’s a great way to help kids calm down and remember a fun day at the beach.
7. Shark sensory bottle
Speaking of the beach, you have to make these cute shark sensory bottles from Celena Kinsey. How cool are they?!
What you need:
- Blue glitter glue.
- Glitter.
- Shark figurines.
- Water.
- An empty water bottle.
How to make:
- Fill bottle with about 1/4 of the glitter glue.
- Add glitter and sharks.
- Fill the rest with water.
- Shake up.
8. Galaxy sensory bottle
Galaxy themes are a vibe and these galaxy-inspired sensory bottles from Hello Maphie nail the trend.
What you need:
- A mason jar.
- Acrylic paints in “galaxy” colors.
- Cotton.
- Silver glitter.
- Holo stars.
- A wooden stick.
- Water.
How to make:
Mix paint and water (in separate jars), each with a different galaxy color.
- Add cotton to the bottom of your mason jar.
- Add glitter and stars on top.
- Fill a bit with paint mixture.
- Add more cotton and stars.
- Add a different paint color.
- Repeat.
9. Lava lamp sensory bottles
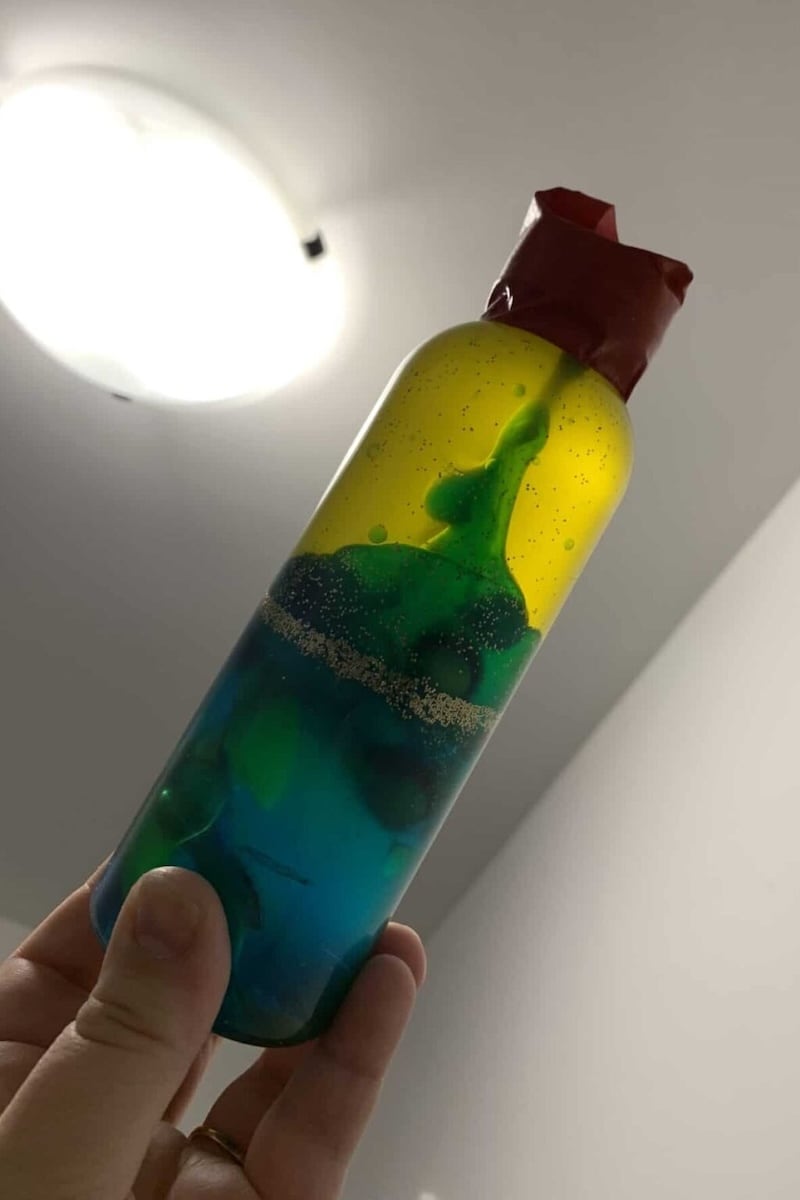
Bring back the lava lamps of yore — sort of — with this trippy lava lamp sensory bottle from Hands on as We Grow. To make these, you only need around seven ingredients, most of which you already have in your home.
10. Mini monster sensory bottle
These monster sensory bottles from the Yaysayers aren’t only cool because they have googly eyes, but love how they’re much smaller than the traditional calm down jars — because everything mini is cute!
“A huge benefit of sensory bottles is that they’re portable, making them an easy, accessible and versatile resource. They’re also a fun project to make with your kid.”
— Graziana Zito
Benefits of sensory play
Sensory play helps children regulate their nervous systems by engaging in activities tailored to their individual sensory needs, explains Graziana Zito, a certified occupational therapist and owner of Eighth Sense Wellness in Philadelphia.
“It encourages learning through exploration, curiosity, problem solving and creativity,” she continues. “It helps to build nerve connections in the brain and encourages the development of language and motor skills, as well as the abilities to focus and regulate emotions.”
There are a number of ways kids can engage in sensory play, but sensory bottles are particularly helpful since they’re mobile, notes Schwartz.
“A huge benefit of sensory bottles is that they’re portable, making them an easy, accessible and versatile resource,” she says, adding: “They’re also a fun project to make with your kid.”
Who can benefit most from a sensory bottle?
While everyone can find a little solace in a sensory bottle (Who doesn’t like watching glitter fall?), the kids that reap the most benefit may be kids with sensory processing difficulties, autism or developmental challenges, says Feder.
“When these kids engage in sensory-rich activities within a relationship-based context [i.e. with a parent, caregiver or therapist], it helps them better understand, process and navigate the world around them, preventing them from becoming overwhelmed while also enhancing their ability to notice and engage with sensory details they might otherwise miss,” he explains.
Schwartz adds that kids who experience anxiety can benefit from sensory bottles, as well, as they can help kids “self-soothe.”
More tips for making sensory bottles
When it comes to crafting sensory bottles, get creative and allow kids to choose colors and objects that speak to them most. You can follow any of the sensory bottle recipes above or choose a few of the objects below, per Zito:
- Beads.
- Sand.
- Rice.
- Split peas.
- Marbles.
“Encourage your child to experiment with different materials to create their perfect sensory bottle,” Zito says. “Also, make sure you secure bottles tight with a hot glue gun!”
She adds: “By incorporating sensory play and tools like sensory bottles, you can support your child’s ability to self-regulate, engage in their environment, and feel more at ease in their daily activities.”